


Our email alias tool allows you to set up emails with your domain that forward to another email address. An alias email can be set up to send to either an email at the same domain or a completely different email at a different domain.
For example, if someone owned the domain, yourdomainname.com they could set up an alias email of [email protected] to send to a personal email [email protected] or [email protected].
Here is a quick click through on how to use the Alias Editor.
How to Login or Sign Up
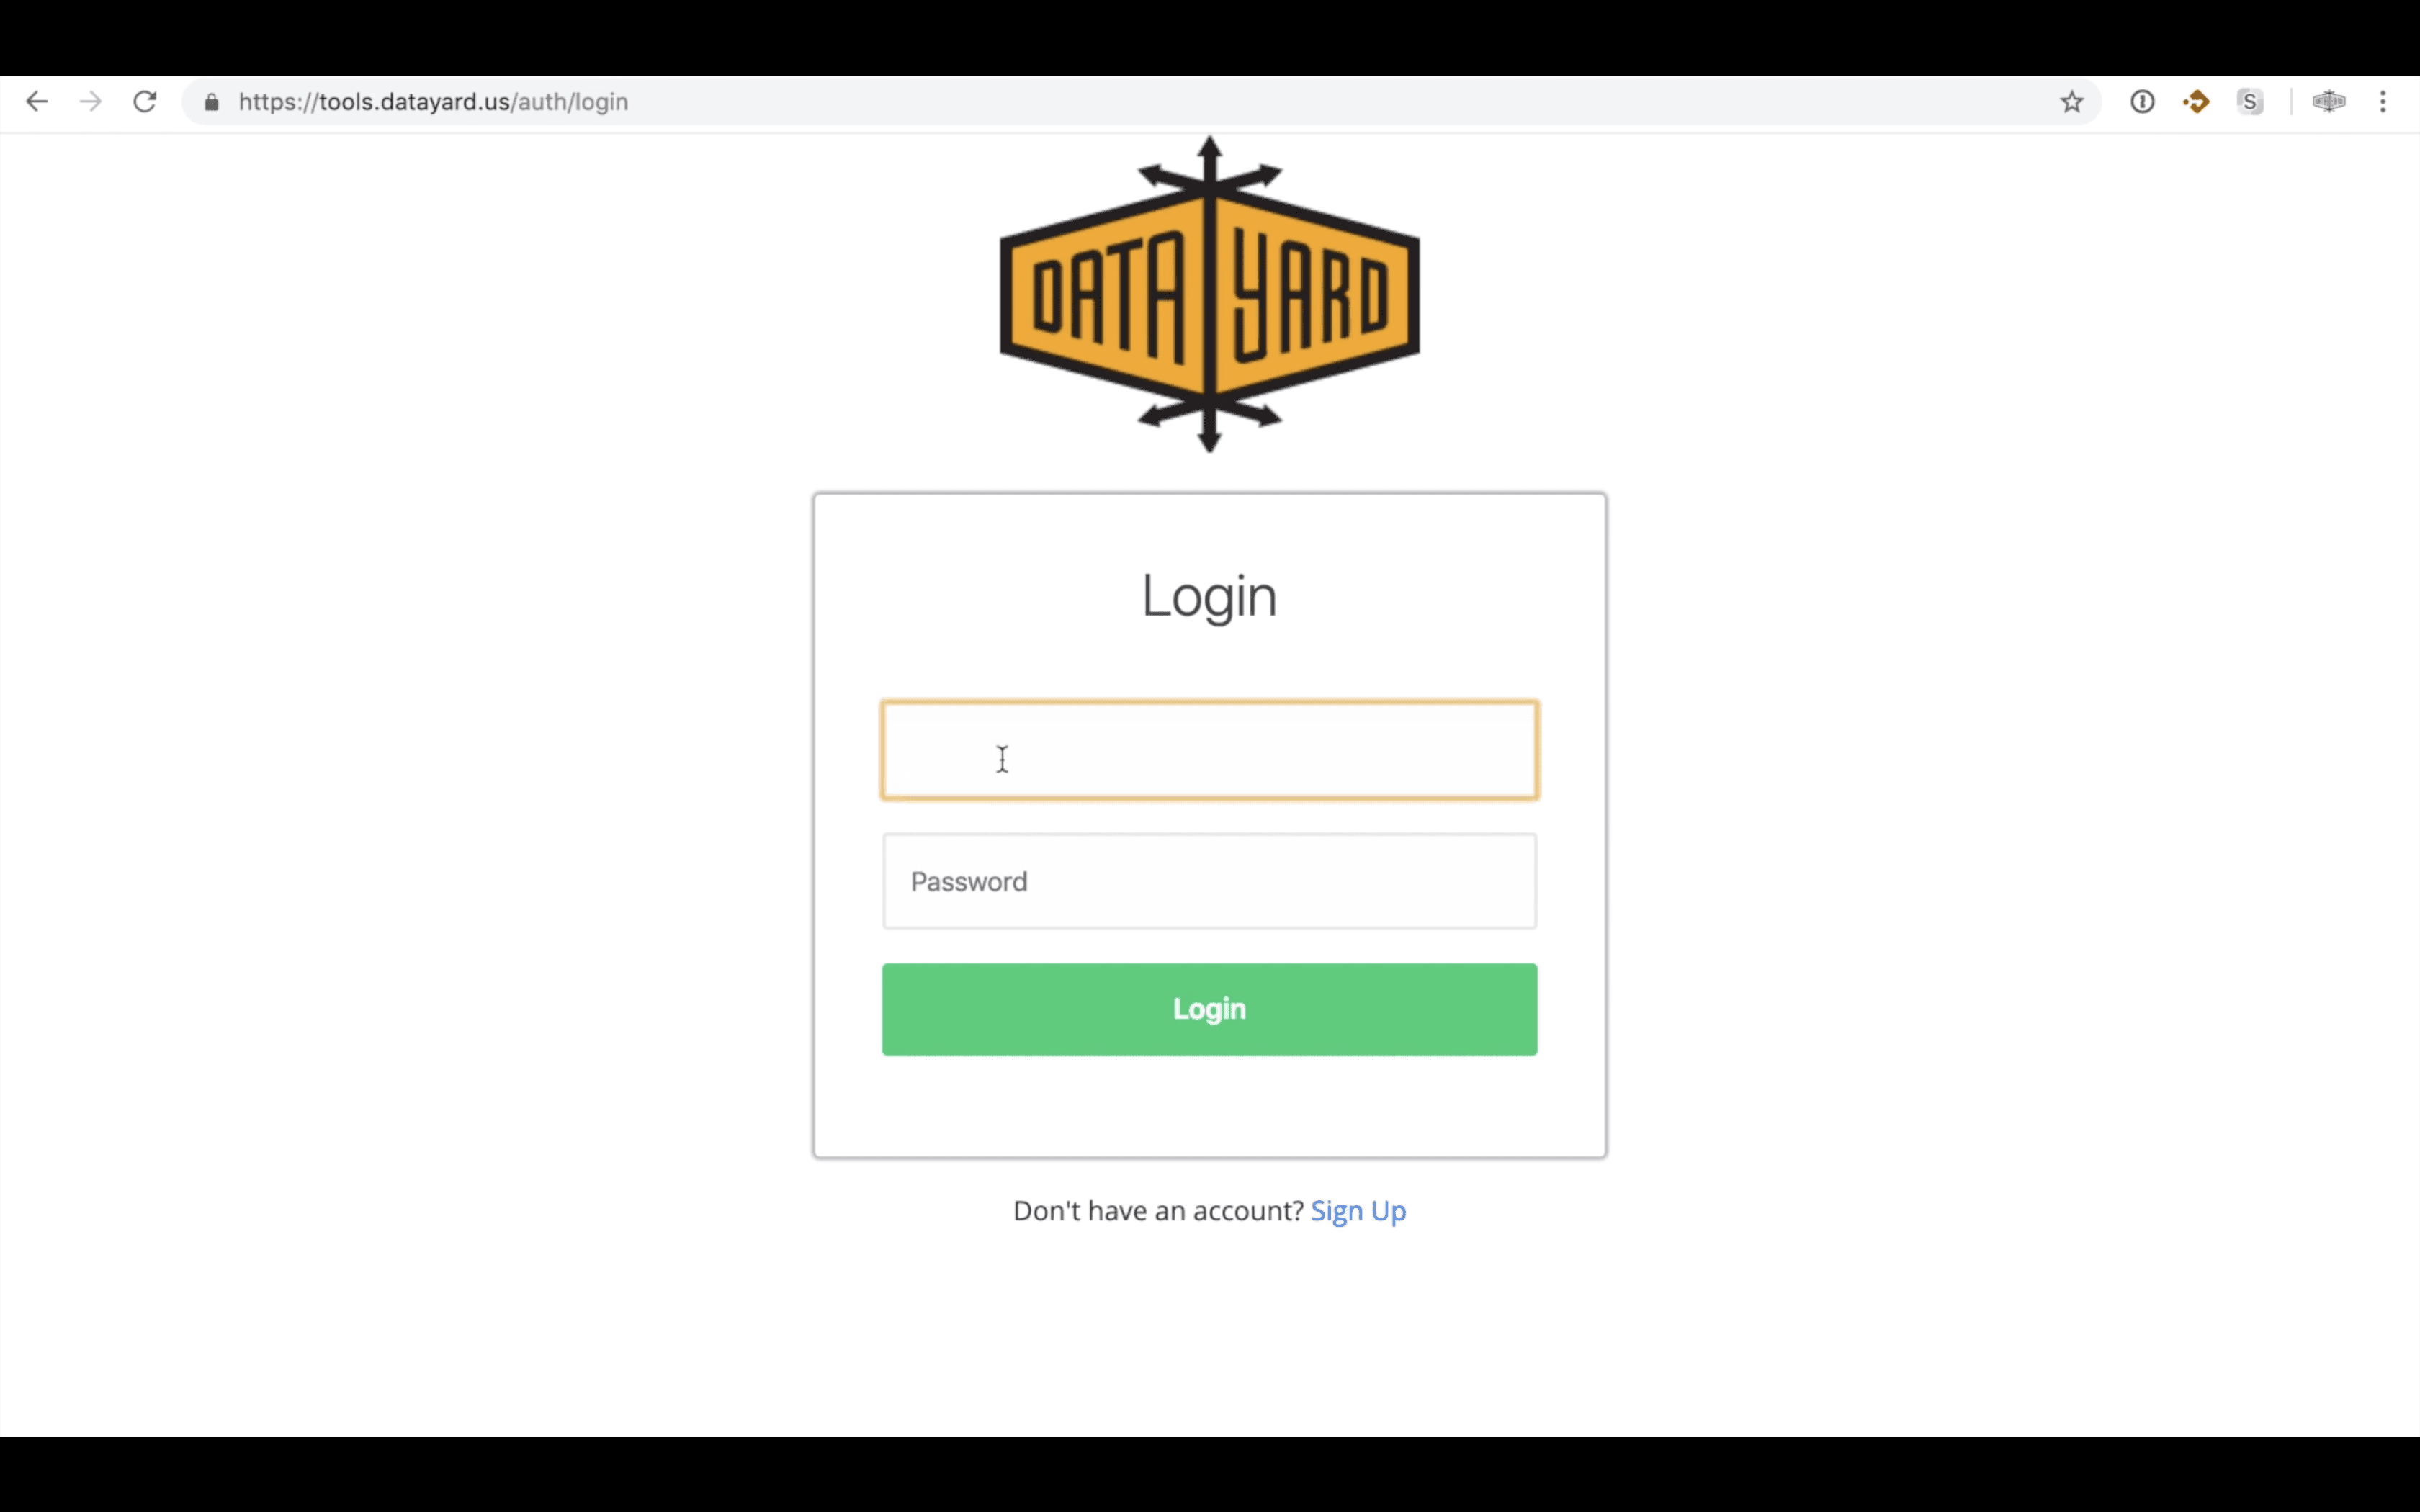
Open your browser and go to: tools.datayard.us
Login with your Username and Password.
Don’t have a username/password? Click the Sign-Up button.
Understanding the Dashboard
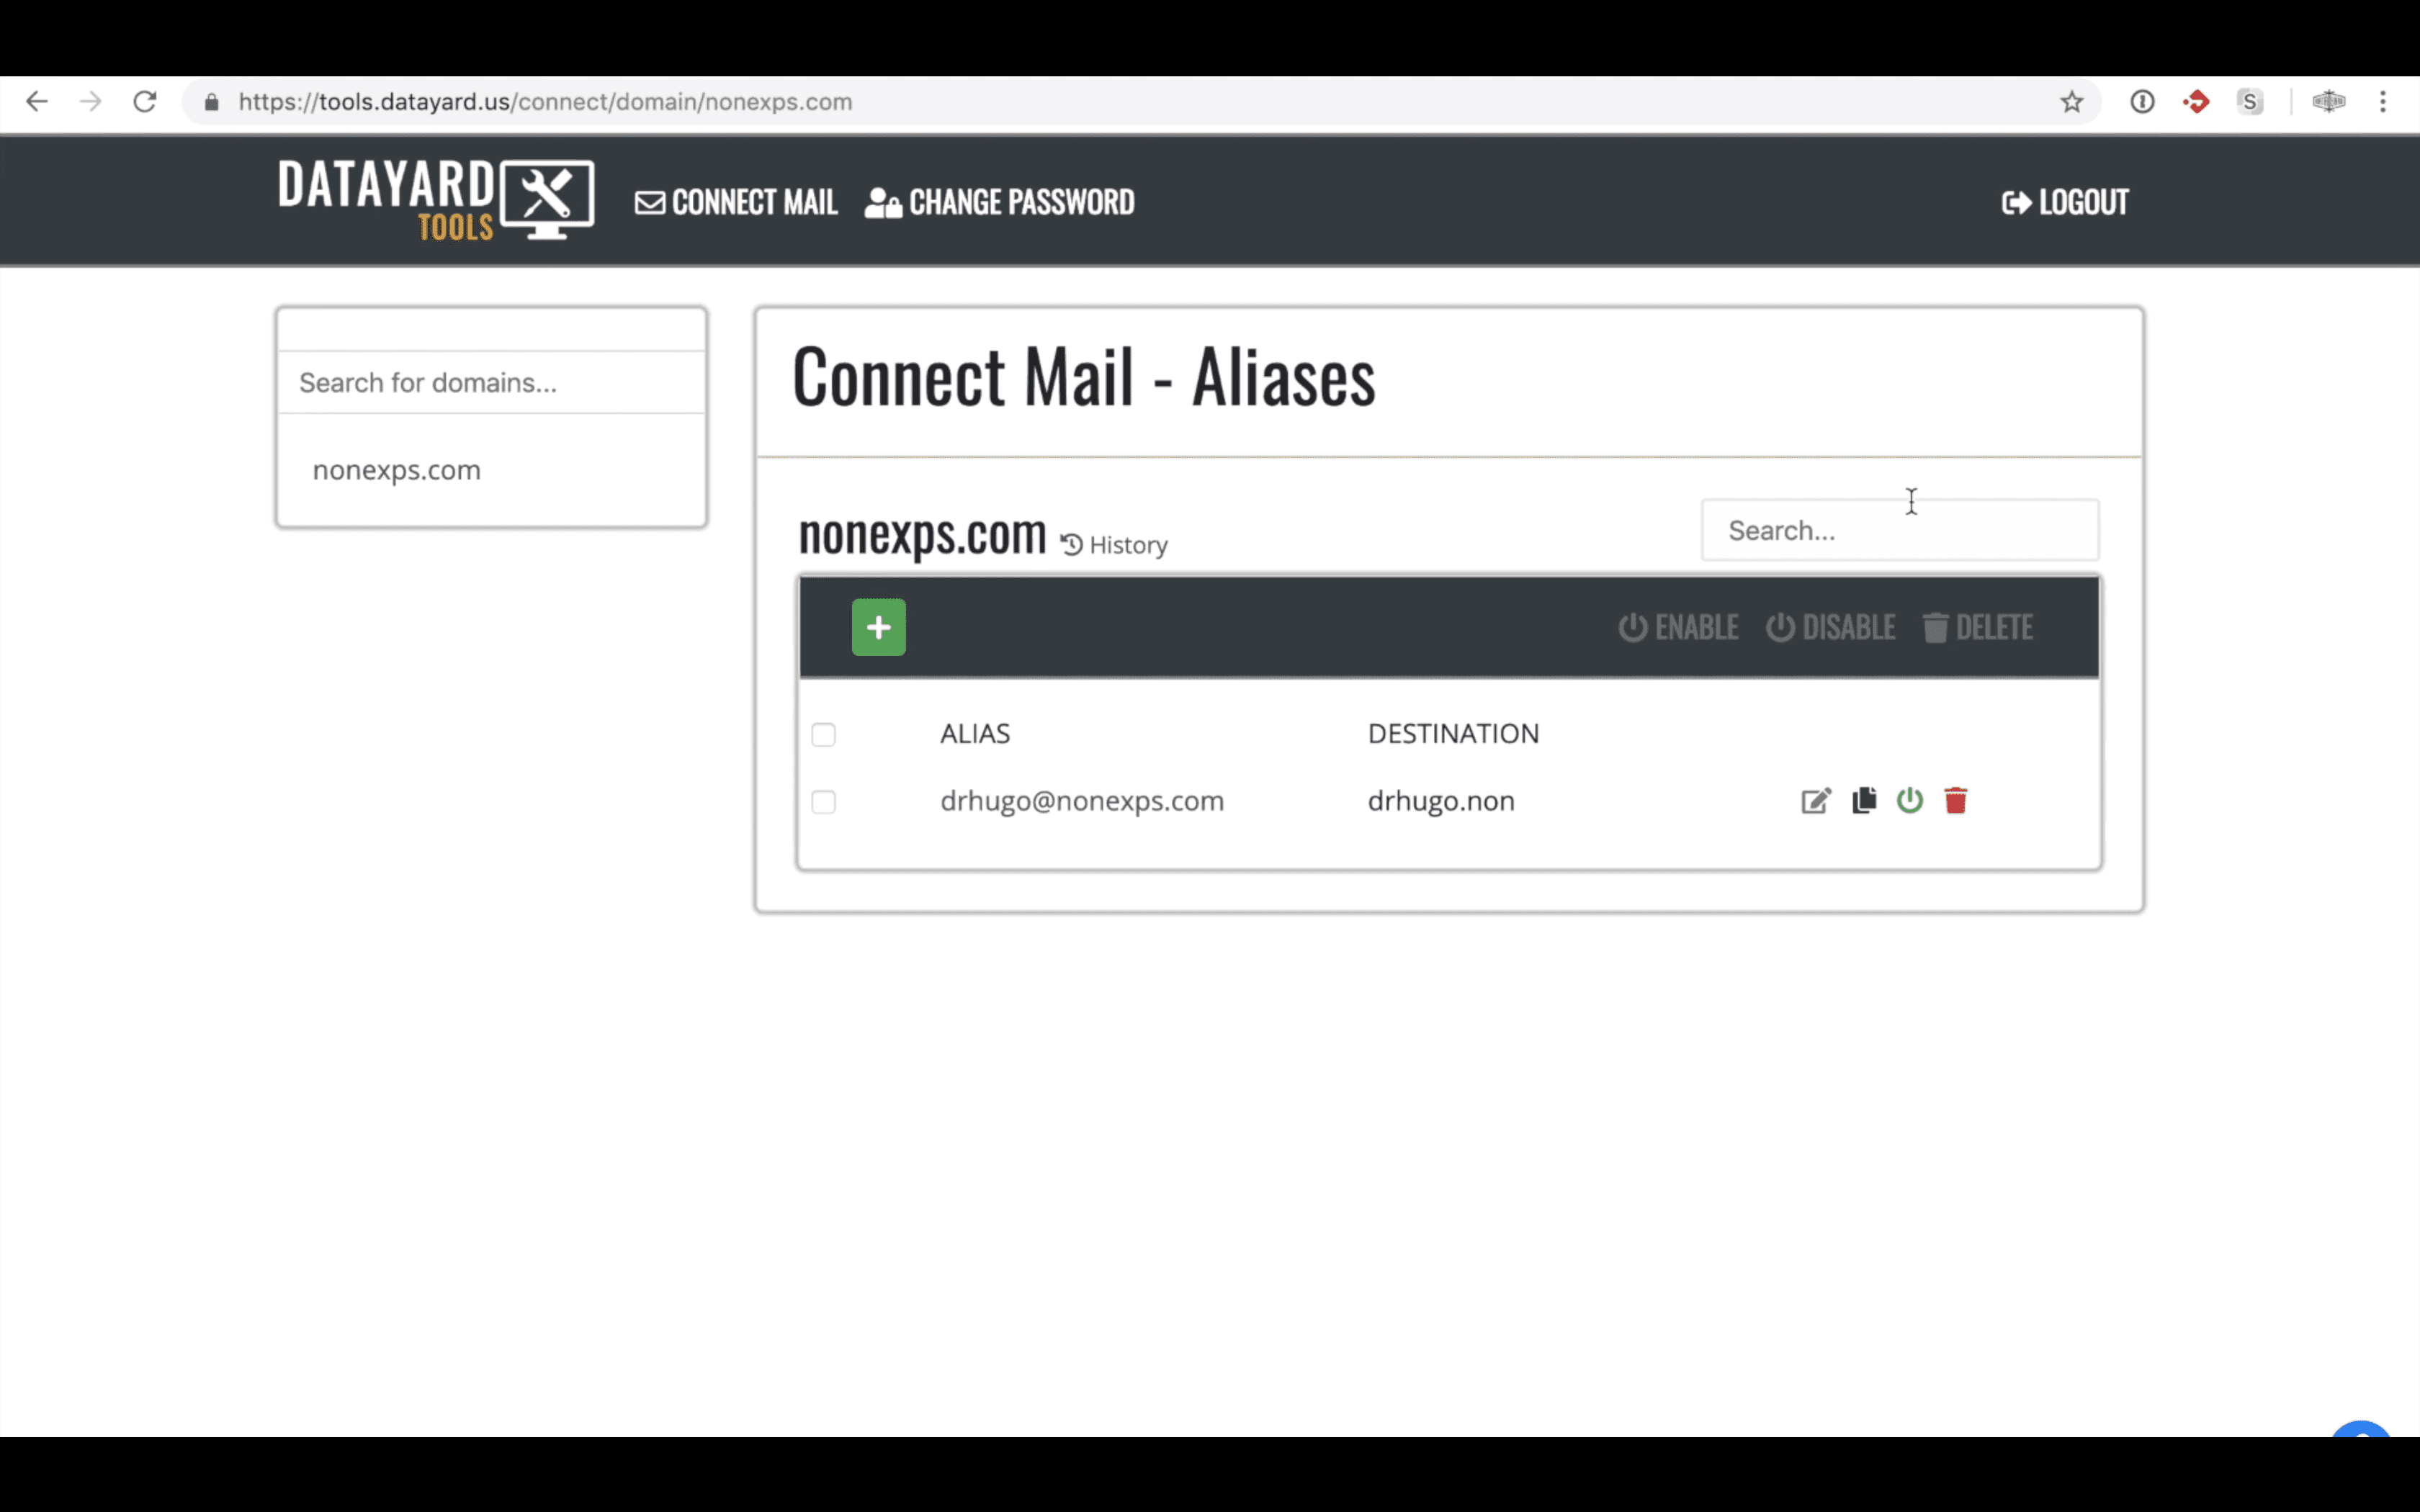
Once logged in you will see the Alias Editor Dashboard with the domains you own listed on the left and the aliases currently in place listed on the right. On the right side of the screen, you will see columns for ‘Alias’ and ‘Destination’, which are pretty self-explanatory in that the Alias column is a list of the ‘Aliases’ in use and the ‘Destinations’ are where they are being sent.
If you have more than one domain click on the domain you would like to manage add, edit, or remove your custom aliases from on the right and then you will see the following options on the screen:
![]() Create New Alias – this will allow you to create a new alias for your domain
Create New Alias – this will allow you to create a new alias for your domain
![]() Create New Catch-All – this will forward all emails that are sent to the domain that don’t already have predefined alias definitions.
Create New Catch-All – this will forward all emails that are sent to the domain that don’t already have predefined alias definitions.
![]() Edit – this will give you the ability to edit the alias name and the recipient addresses for that alias.
Edit – this will give you the ability to edit the alias name and the recipient addresses for that alias.
![]() Duplicate – this will allow you to duplicate the alias and all the recipients for that alias.
Duplicate – this will allow you to duplicate the alias and all the recipients for that alias.
![]() On/Off Switch – this will turn on or turn off the alias so that it continues to work or discontinue working but keeping the record.
On/Off Switch – this will turn on or turn off the alias so that it continues to work or discontinue working but keeping the record.
![]() Delete – this will delete the alias record altogether.
Delete – this will delete the alias record altogether.
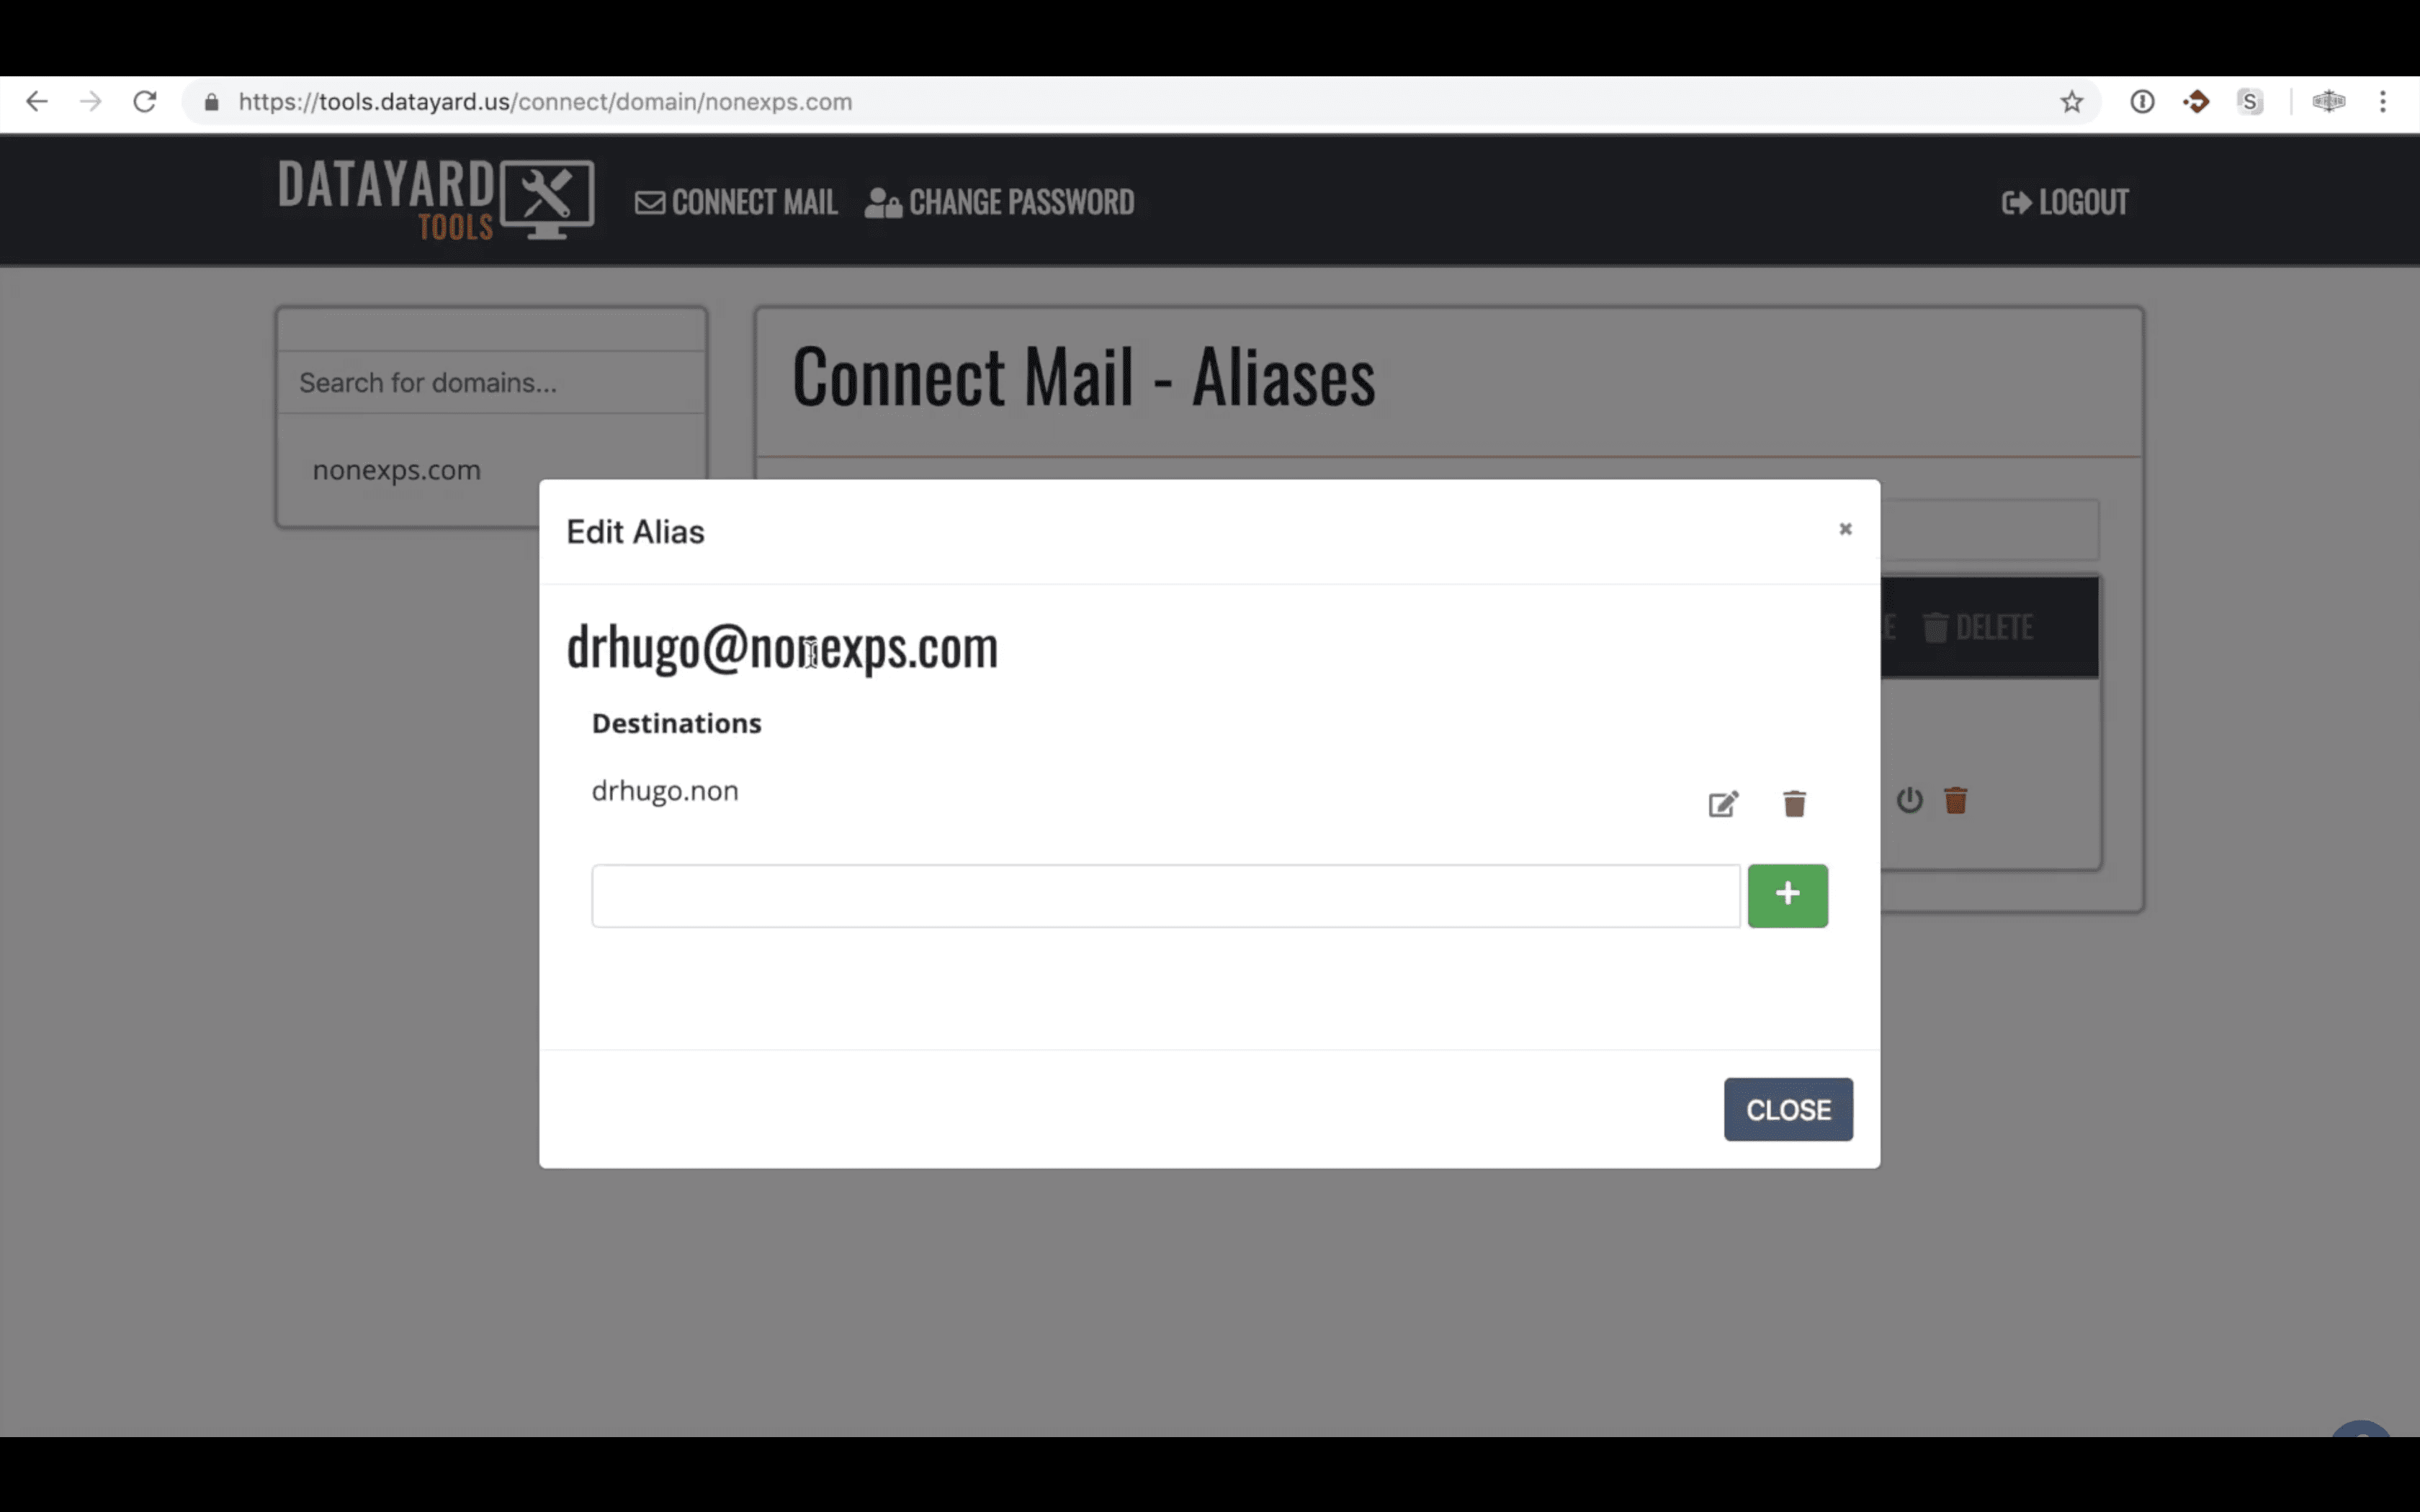
Understanding the Editing Alias Screen
Once creating or editing an alias you will see the option to create, edit or delete the alias where you can make the changes you desire.
If you have further questions please check out our How-To Tutorial video available below or reach out to our support team at 937-226-6896.